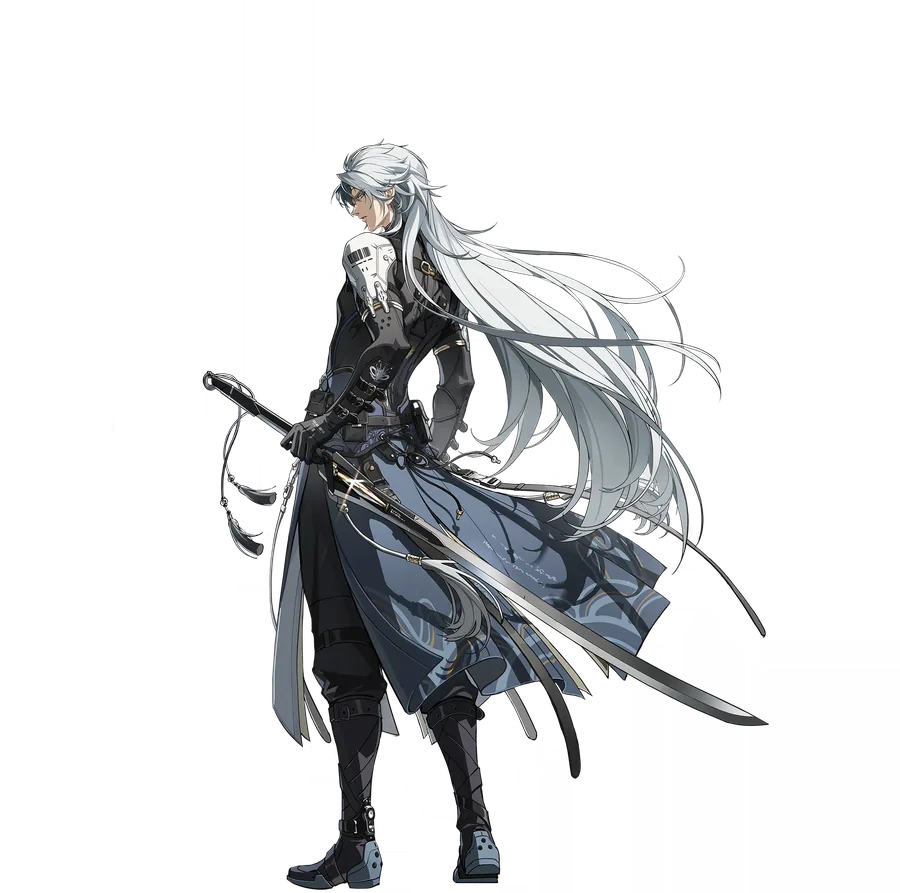
"Phantom Hunter"The ruthless leader of the Ghost Hounds
5★ElectroBroadbladeMain DPS
Release
Version 1.0 · May 22, 2024
How to get
Standard banner
Birthday
July 8
Region
New Federation · "Ghost Hounds"
Who is Calcharo?
Calcharo is the cold-blooded, ruthless leader of the Ghost Hounds, a mercenary group with roots in the New Federation. He is a standard 5★ Electro Resonator who wields a Broadblade. His Resonance Liberation puts him into Deathblade Gear, where his Basic Attacks turn into Hounds Roar, and he unleashes the 5 Killing Intent he builds up with Death Messenger, which counts as Resonance Liberation DMG. He is a main DPS built around combo timing, and even on his way out he lands a strong hit with the Phantom his Outro summons.
HP · Lv 9010,500
ATK · Lv 90437
DEF · Lv 901,185
How to get Calcharo
Calcharo is a standard 5★ Resonator and is not tied to a specific banner. He can come from the permanent Tidal Chorus banner (pulled with Lustrous Tide), from losing the 50/50 on limited character banners, and from the one-time Beginner's Choice Convene for new players (the 5★ you pick is guaranteed within 80 pulls). Tidal Chorus also guarantees a 5★ every 80 pulls, but you cannot choose which character you get.
Calcharo build
Updated for version 3.6
Echo set
Void Thunder5-piece
2-piece: Electro DMG + 10%.
5-piece: Electro DMG + 15% after releasing Heavy Attack or Resonance Skill. This effect stacks up to 2 times, each stack lasts 15s.
The Electro DMG that stacks as you use Heavy Attacks and Resonance Skills stays up permanently thanks to Mercy and Extermination Order; the most consistent set for Calcharo.
Lingering TunesAlternative · 2-piece
2-piece: ATK +10%
If you do not have well-rolled Echoes for 5-piece Void Thunder yet, run 2-piece Void Thunder + 2-piece Lingering Tunes to get Electro DMG and ATK together.
Echoes and stats
Main Echo
Nightmare: Thundering Mephis
4 cost
Crit. Rate / Crit. DMG
3 cost
Electro DMG (two Echoes)
1 cost
ATK% (two Echoes)
Substats
Crit. Rate
Crit. DMG
Energy Regen (110-120%)
ATK%
Resonance Liberation DMG Bonus
Flat ATK
In the main slot it grants 12% Electro DMG and 12% Resonance Liberation DMG Bonus with no conditions, a perfect match for Death Messenger, which counts as Liberation DMG.
Use the 4-3-3-1-1 layout. Mercy and Death Messenger refund energy, so you do not need a very high Energy Regen target; with Lustrous Razor the requirement drops even further.
Best weapons for Calcharo
1
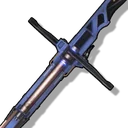
Lustrous Razor5★
The standard banner's 5★ Broadblade and Calcharo's best option: Its 36.45% ATK main stat, Energy Regen and the Resonance Liberation DMG Bonus that stacks with every Resonance Skill (up to 3 stacks) fit his playstyle perfectly.
2
Wildfire Mark5★
Lupa's signature weapon. Its 48.6% Crit. DMG, 12% ATK and the Resonance Liberation DMG bonus after an Intro or Liberation line up with the Deathblade Gear window.
3
Kumokiri5★
Gives a 36% Crit. Rate main stat and 12% ATK; a strong alternative thanks to its passive Resonance Liberation DMG Bonus that stacks as you use Intro Skills.
4
Verdant Summit5★
Jiyan's signature weapon; a good stat stick with 48.6% Crit. DMG and a 12% elemental DMG bonus, though its Heavy Attack bonus only helps Mercy.
5
Autumntrace4★
A 4★ Broadblade that stacks ATK up to 5 times on Basic and Heavy Attack hits; with its Crit. Rate main stat it is Calcharo's best 4★ option.
6
Helios Cleaver4★
An easy-to-get 4★ Broadblade that grants ATK in steps after a Resonance Skill; Extermination Order triggers it often.
Calcharo materials
Ascension materials (Lv 1→90)
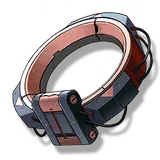
46Thundering Tacet Core
60Iris
4Crude Ring
12Basic Ring
12Improved Ring
4Tailored Ring
170,000Shell Credit
Skill materials (all skills and nodes maxed)
26Monument Bell
25Crude Ring
28Basic Ring
40Improved Ring
57Tailored Ring
25Waveworn Residue 210
28Waveworn Residue 226
55Waveworn Residue 235
67Waveworn Residue 239
2,030,000Shell Credit
Totals are calculated from game data: Every ascension stage from 1→90, skills 1→10 and every skill tree node.
Calcharo skills
Normal Attack
Gnawing Fangs
A four-hit Electro combo, a Stamina-consuming Heavy Attack, a plunging attack and a Dodge Counter. In his normal form it is a simple combo chain; the real power lies in the attacks changed by his Forte Circuit and Liberation.
Resonance Skill
Extermination Order
An Electro attack chain that can be used three times in a row, with each hit granting 1 Cruelty. It does not break the Basic Attack loop, so you can slot it between combos; it goes on cooldown if Calcharo leaves the field or does not use it again for a while.
Forte Circuit
Hunting Mission
Once Extermination Order has built up 3 Cruelty, his Heavy Attack becomes Mercy, which counts as Heavy Attack DMG and refunds Resonance Energy and Concerto Energy. Cruelty cannot be gained in Deathblade Gear; instead, Hounds Roar hits fill Killing Intent, and at 5 stacks his Basic Attack turns into Death Messenger, which counts as Resonance Liberation DMG.
Resonance Liberation
Phantom Etching
Deals Electro DMG to the target and enters Deathblade Gear: Basic Attack becomes the five-hit Hounds Roar, while Heavy Attack and Dodge Counter are enhanced and count as Resonance Liberation DMG. The first Intro Skill after the mode ends turns into the stronger "Necessary Means".
Intro Skill
Wanted Outlaw
Deals Electro DMG to the target on entry. After Deathblade Gear ends, the next Intro is replaced by "Necessary Means", so swapping back to Calcharo with an Intro during the rotation means extra damage.
Outro Skill
Shadowy Raid
As Calcharo leaves the field, he summons a Phantom to support the active character; the Phantom cuts down the targets in front of it with a single slash, dealing Electro DMG equal to 195.98% + 391.96% of Calcharo's ATK.
Inherent Skill
Bloodshed Awaken
Using the Heavy Attack Mercy grants 10% Resonance Liberation DMG Bonus for 15 s. Throwing in a Mercy right before the Liberation raises Deathblade Gear damage.
Inherent Skill
Revenant Rush
When the Heavy Attack Death Messenger hits, the damage Calcharo takes is reduced by 15% for 5 s; it gives him a little breathing room during long Liberation combos.
Tune Break
Tune Break: Broadblade
When the target's Off-Tune level is full, Calcharo can perform the Broadblade-specific Tune Break attack. With Off-Tune focused teammates like Lynae and Mornye, this window opens much more often.
Calcharo sequences (Resonance Chain)
S3 is the most valuable Sequence because it directly raises Electro DMG during the Deathblade Gear window; S1 eases his energy needs. As a standard 5★, his Sequences can build up over time as you lose 50/50s on limited banners.
S1
Covert Negotiation
Extermination Order grants an extra 10 Resonance Energy on hit (once every 20 s), so you reach your Liberation faster.
S2
Zero-Sum Game
After the Intro Skill Wanted Outlaw or "Necessary Means", Resonance Skill DMG Bonus increases by 30% for 15 s.
S3
Iron Fist Diplomacy
Electro DMG Bonus increases by 25% during Deathblade Gear; one of his biggest damage jumps.
S4
Dark Alliance
After the Outro Skill Shadowy Raid, the whole team's Electro DMG Bonus increases by 20% for 30 s.
S5
Unconventional Compact
The Intro Skill Wanted Outlaw and "Necessary Means" deal 50% more damage.
S6
The Ultimatum
Using Death Messenger summons two Phantoms; each deals Electro DMG equal to 100% of ATK, counted as Resonance Liberation DMG.
Lynae's Outro grants 15% All DMG and 25% Resonance Liberation DMG Amplification; Mornye heals, speeds up Off-Tune buildup and gives the whole team 25% All DMG Amplification.
Yinlin's Outro amplifies Electro DMG by 20% and Resonance Liberation DMG by 25%, and her Coordinated Attacks add extra damage; Shorekeeper heals the team and boosts crit stats.
Yangyang's Outro grants 4 Resonance Energy per second for 5 s, speeding up the Liberation, while Baizhi heals the team and boosts damage; an accessible lineup built with 4★ characters.
Calcharo profile
Gender
Male
Birthday
July 8
Nation
New Federation
Affiliation
"Ghost Hounds"
English voice
Ben Cura
Japanese voice
Morikawa Toshiyuki
Chinese voice
Xu Xiang
Korean voice
Park Min Gi
Calcharo tips
Before the Liberation, use Extermination Order three times and finish with Mercy: You gain energy and get the 10% Liberation bonus from Bloodshed Awaken.
In Deathblade Gear, try to repeat the five-hit Hounds Roar + Death Messenger combo three times over the duration; most of his damage comes in this window.
Dodge Counters in Deathblade Gear count as Liberation DMG and have high multipliers; turn enemy attacks into openings within your combo.
After Deathblade Gear ends, swap back to Calcharo with an Intro: The enhanced "Necessary Means" deals extra damage.
Use the Outro of supports that boost Liberation DMG, like Yinlin or Lynae, right before Calcharo enters his Liberation.
Common questions
How do you get Calcharo?
Calcharo is a standard 5★: He can come from the permanent Tidal Chorus banner, from losing the 50/50 on limited banners, or from the Beginner's Choice Convene for new players. If you pick him in Beginner's Choice, he is guaranteed within 80 pulls.
What is the best Echo set for Calcharo?
5-piece Void Thunder is the best option; it stacks Electro DMG as you use Heavy Attacks and Resonance Skills. Use Nightmare: Thundering Mephis as the main Echo; it raises both Electro and Resonance Liberation DMG by 12%.
What is Calcharo's best weapon?
He has no signature weapon; the best option is the standard 5★ Lustrous Razor. Wildfire Mark, Kumokiri and Verdant Summit are strong alternatives, while Autumntrace and Helios Cleaver work on the 4★ side.
Is Calcharo still good?
Yes, with the right team he is still a solid main DPS, and he deals especially good damage in the Tune Break team with Lynae and Mornye. However, since he relies on combo timing, he takes more effort than newer characters.
What team should you build for Calcharo?
The strongest option is Calcharo + Lynae + Mornye. Yinlin and Shorekeeper work well for a classic Electro team, and Yangyang and Baizhi for a budget lineup; Jianxin, whose Outro boosts Liberation DMG, is another good alternative.
What materials does Calcharo use?
To ascend him you need Thundering Tacet Core from Thundering Mephis, Iris and the Crude Ring series. His skills use the Waveworn Residue series, the Crude Ring series and Monument Bell, the weekly material dropped by Bell-Borne Geochelone.